Death Valley has been on my bucket list for a long time, so I was very excited when I was presented with the opportunity to road trip from LA to Death Valley thanks to my friends at Visit California. You can use their Road Trip Finder search tool to plan your own epic road trip, whether it’s to Death Valley like mine or other awesome spots like the North Coast, Palm Springs, or Yosemite, just to name a few! My trip was based upon the Discovering Death Valley itinerary and expanded, so check out my itinerary below for the ultimate Death Valley adventure starting from Los Angeles.
Disclaimer: This post is in partnership with Visit California. As always, all opinions are my own.
Table of Contents
Day One: LA to Lancaster
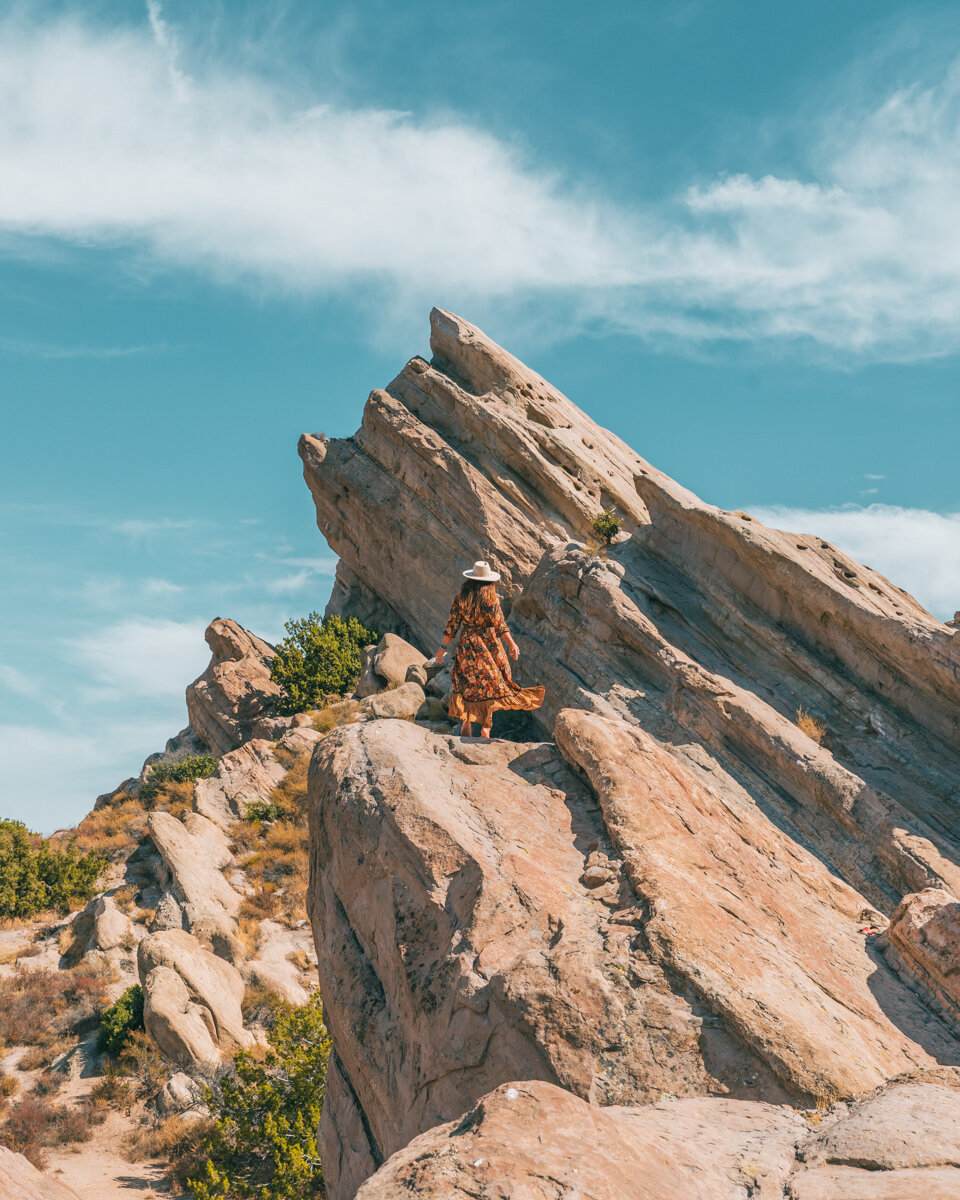
For the first day, start from LA (we flew into LAX and went straight from there after picking up our rental car) and take State Highway 14 up to Vasquez Rocks Natural Area Park near Agua Dulce. The drive out is 52 miles from LAX, and takes about an hour to 1.5 hours depending on LA traffic. The 932-acre park is most famous for its spectacular rock formations that have been the backdrop numerous Hollywood movies and TV shows over the years, such as Blazing Saddles, Bill and Ted’s Excellent Adventure, and Star Trek! Once you’ve finished up at Vasquez Rocks Natural Area Park, drive 30 minutes (27 miles) to Lancaster for the night.
Day Two: Lancaster to Ridgecrest
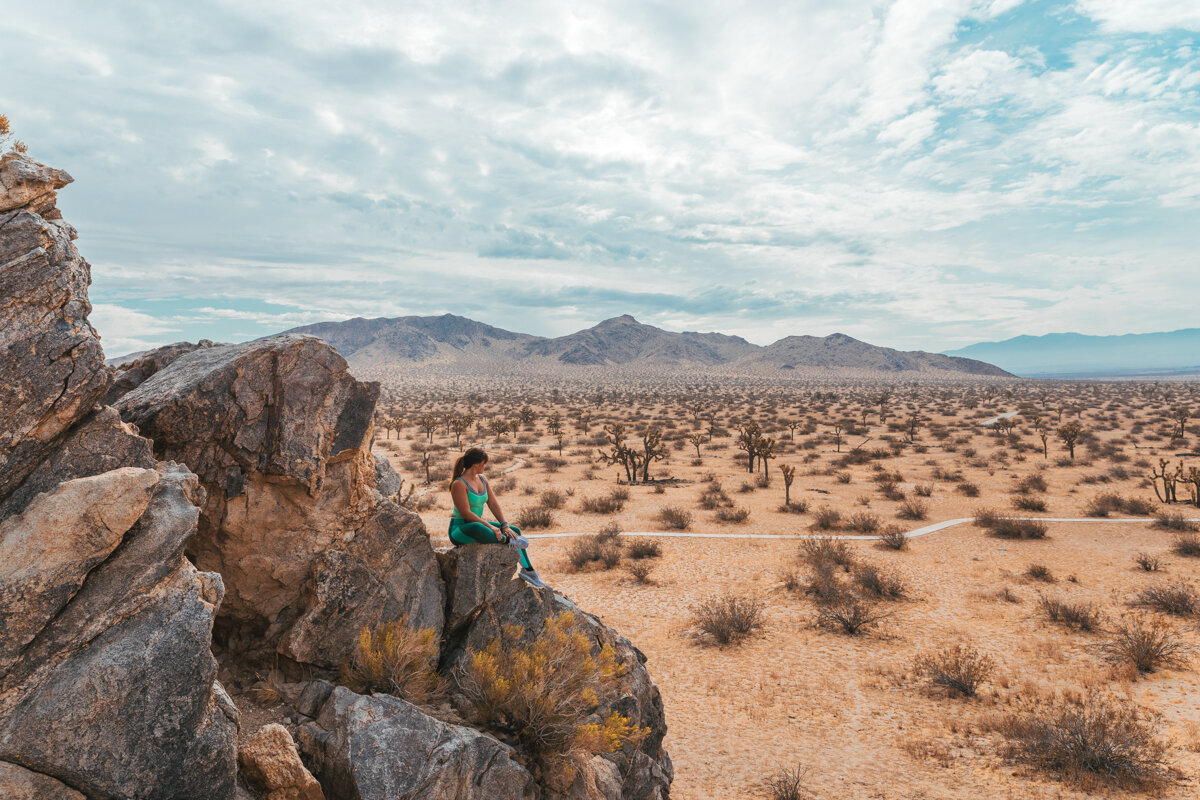
For the first stop of the day, head just a short drive from Lancaster to Saddleback Butte, a hidden gem of the area filled with Joshua Trees and scenic views. You can choose to either hike the 3.8 mile out and back trail (which has a 980 feet elevation gain), or just take in the views from the Visitor Center for a quick photo op.
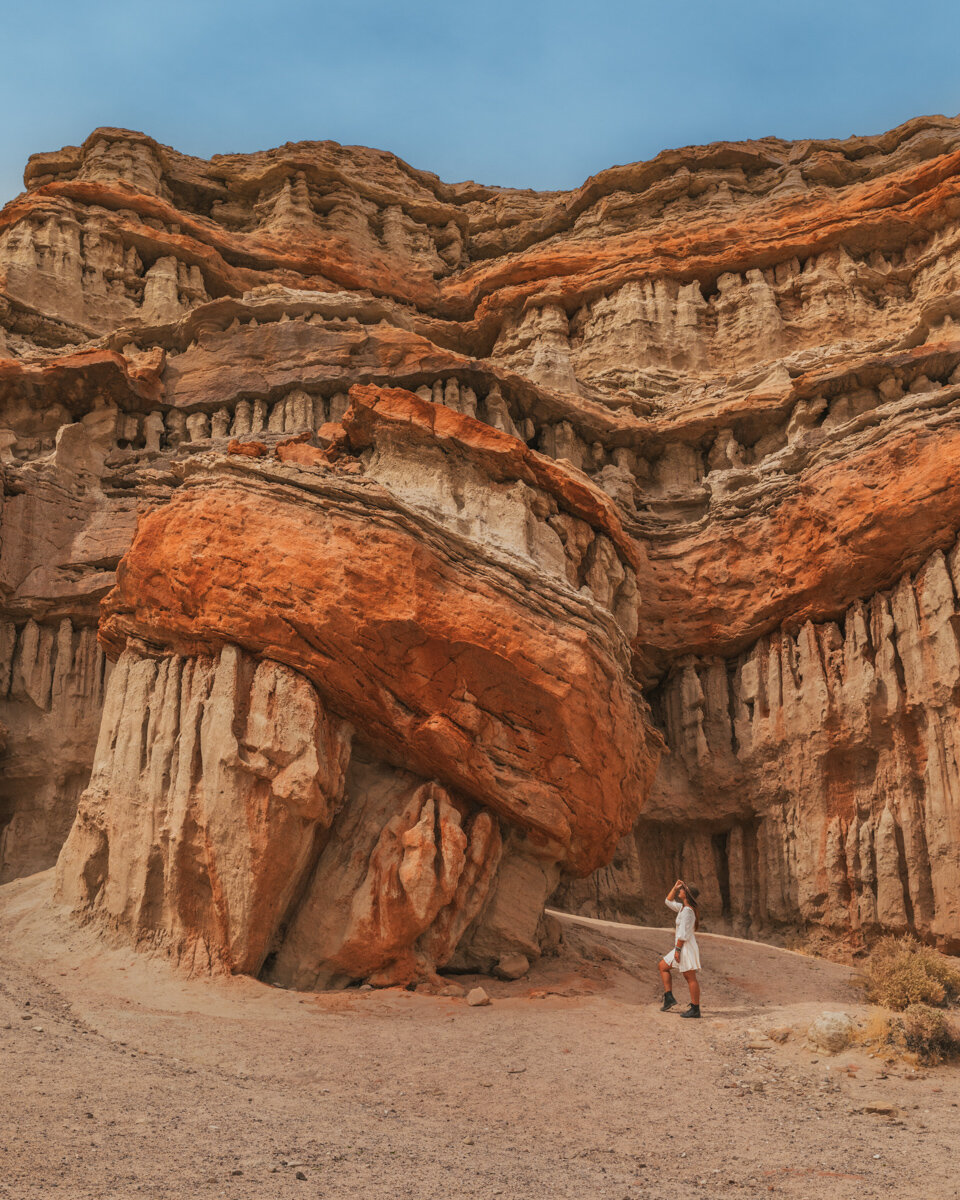
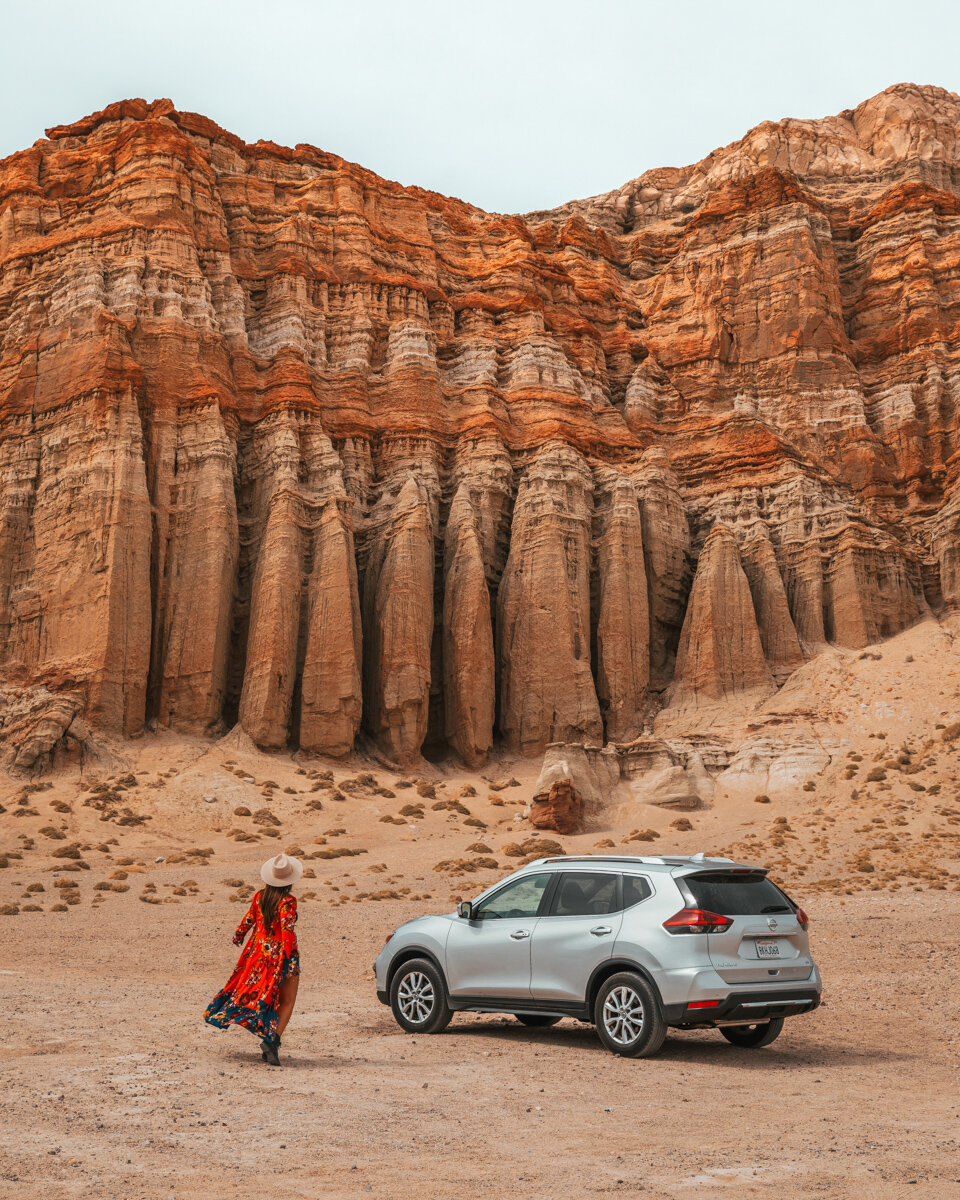
Then, take Highway 14 up to Red Rock Canyon State Park, near Cantil. You’ll probably want some time here to explore and photograph, because the entire area is absolutely gorgeous and filled with red rocks, just like its name would suggest. I really don’t know how this State Park isn’t more popular (we hardly saw any visitors there!) because it is some of the most stunning geology you’ll find in Southern California. If you have the time, you can take hikes through Hagen Canyon and Red Rock Canyon. Or, if you’re only there for a quick stop, take a drive around to find Joshua Trees and beautiful red rock cliff faces. Some Instagrammable photo spots you can find around Red Rock Canyon State Park include Turk’s Turban (below, left), Camel Rock, Hagen Canyon, and the Red Cliffs Natural Area just off the highway (below, right). Once you’re done at the park, head to Ridgecrest to spend the night.
Day Three: Ridgecrest to Death Valley via Alabama Hills
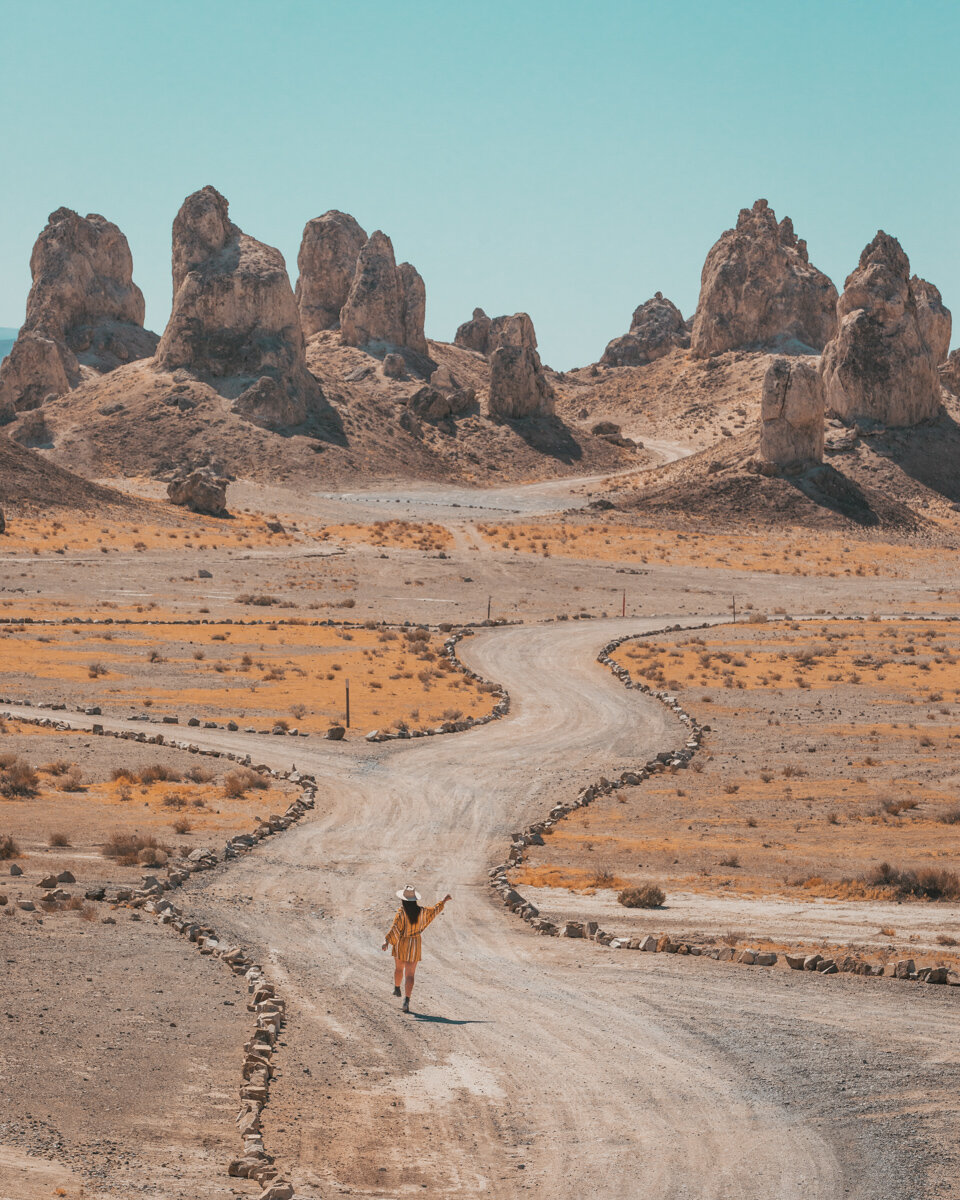
Start the morning off with a drive about 45 minutes out to the surreal landscape that is the Trona Pinnacles. The road out to the Trona Pinnacles in unpaved and a bit rough (it’s a five-mile-long dirt road), so budget plenty of time to get there if you’re not in a 4WD vehicle since you’ll have to go very slow. In general, having a 4WD car for this itinerary would be helpful, since it’d allow you to go to certain places in Death Valley that you can’t go to otherwise (like the Racetrack Playa), and to more easily get to Trona Pinnacles, but it’s not 100% necessary and we did do the trip in a normal SUV. The Trona Pinnacles are made up of 500 oddly shaped spires that rise up to 140 feet above Searles Dry Lake, making for a bizarre landscape that has featured in vintage sci-fi flicks, and more recently, the HBO TV show Westworld. Make sure to take some time to drive around the pinnacles to see them from different perspectives! One of my favorite views was from the top of the road on the drive in.
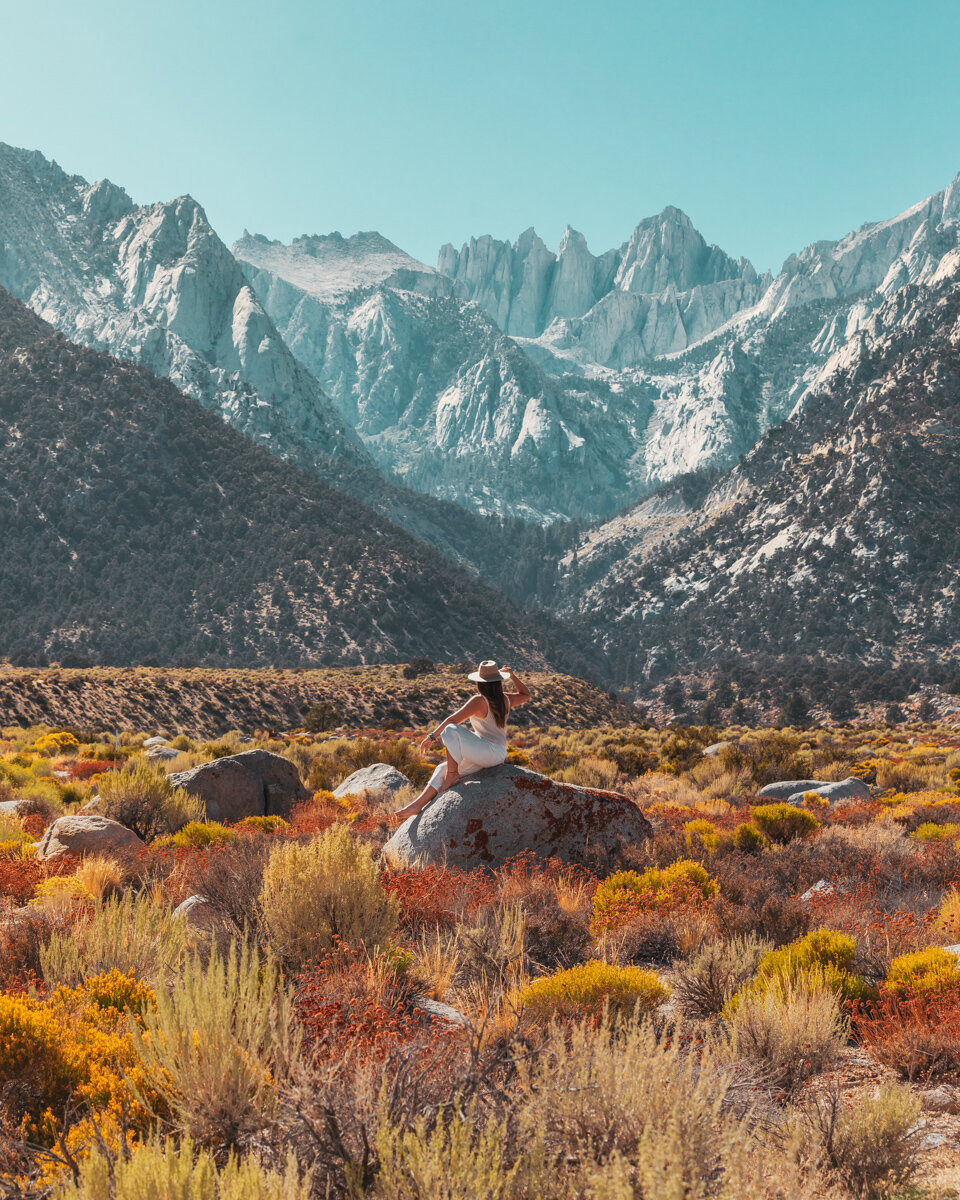
From Trona Pinnacles, we drove about two hours up Highway 395 to Lone Pine, featuring Alabama Hills and the Mount Whitney Portal, to explore for the afternoon. Since this is a bit out of the way, you can choose to skip this part and instead head straight up towards Highway 190 and Death Valley for the fastest route to the national park. Once you reach Lone Pine, depending how much time you have, you can drive 20 minutes up Whitney Portal Road to reach the Mount Whitney Trailhead. Here, you’ll find the main trailhead to hike Mt. Whitney, which is the highest point in the contiguous United States, as well as routes for shorter hikes, such as the 5.1 miles out-and-back trail to Lone Pine Lake.
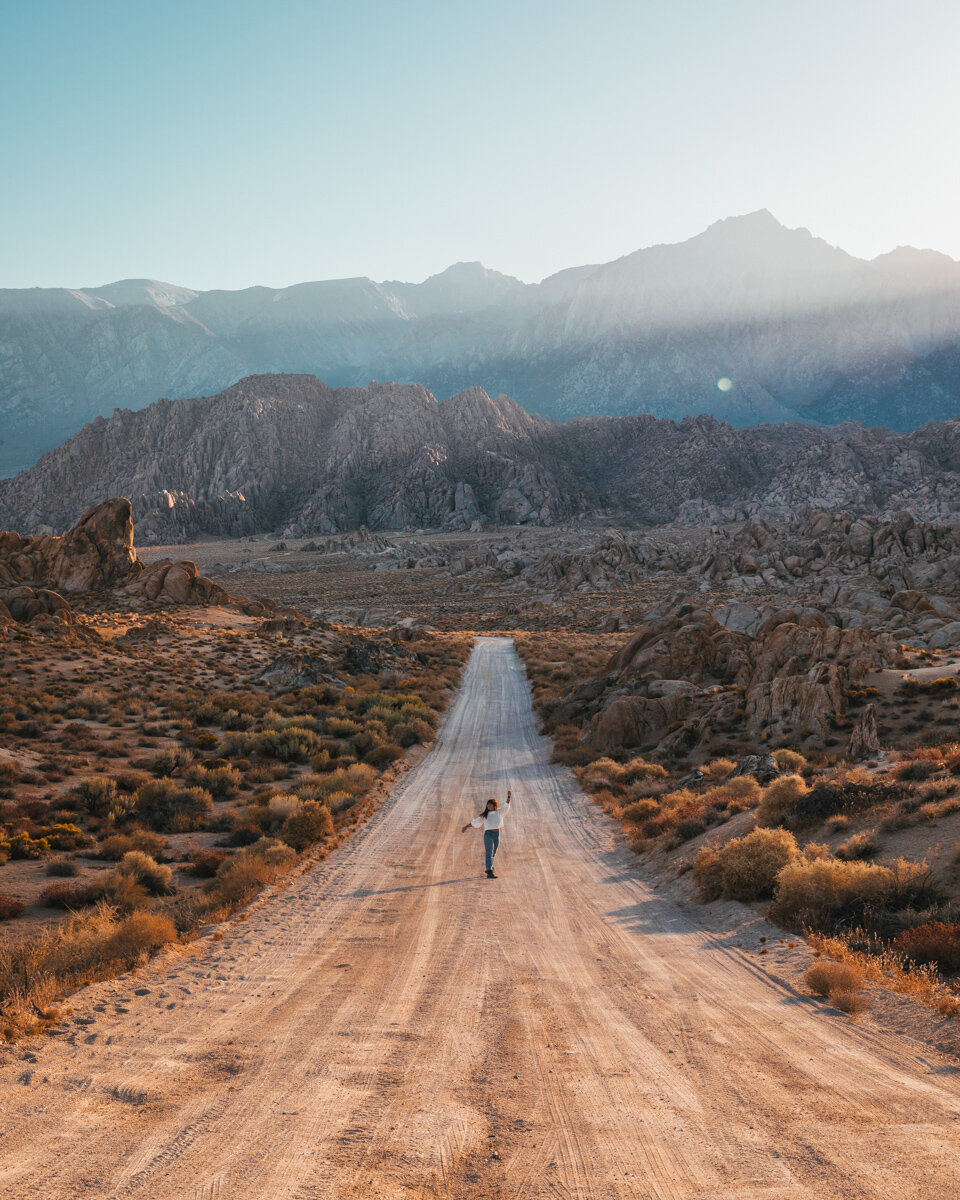
Another option is to drive around Movie Flat Road for scenic views around Alabama Hills. You can make stops at several of the arches around the area, such as Mobius Arch (which is also a great spot for astral photography!), Boot Arch, and of course, the Insta-famous shot down Movie Road for the perfect desert photo op. You’ll probably recognize this Movie Road shot (below) from all over Instagram, and it is especially popular as a sunrise photo spot. Because of the timing of our road trip, we actually visited here for sunset, which can be another good time to shoot here as the lighting isn’t as harsh.
Once you’re done exploring everything around Lone Pine, head out towards Death Valley – the drive can take 1-2 hours depending where you plan to stay in the park. For our visit, we stayed at The Inn at the Oasis at Death Valley in Furnace Creek, a historic, 4-diamond hotel that is perfect for anyone looking for a bit of luxury during their Death Valley stay.
[booking_product_helper shortname="dv"]
Day Four: Explore Death Valley
Yay, you’ve made it to Death Valley! At this point, you can either extend your itinerary to longer than five days if you’d like more time to explore Death Valley National Park, or try to fit as much as possible into a day-and-a-half whirlwind tour of the park. If you go from sunrise to sunset, you can fit in quite a lot! for our trip, we spent two full days inside the park, and were pretty much able to do everything we wanted (there were places we couldn’t go without a 4WD vehicle) in that amount of time. Quick note – even if you don’t drive a 4WD car in, there are options for Jeep rentals inside the park if you’d just like a day rental to make it out to spots like the Racetrack Playa!
Death Valley has so many iconic photo spots, it’s hard to pick what to see in Death Valley if your time there is short. That said, I’ve narrowed it down to what I feel are the major highlights of the park to make the most of your time there. Here are 6 of the best photo spots to visit in Death Valley National Park!
Zabriskie Point
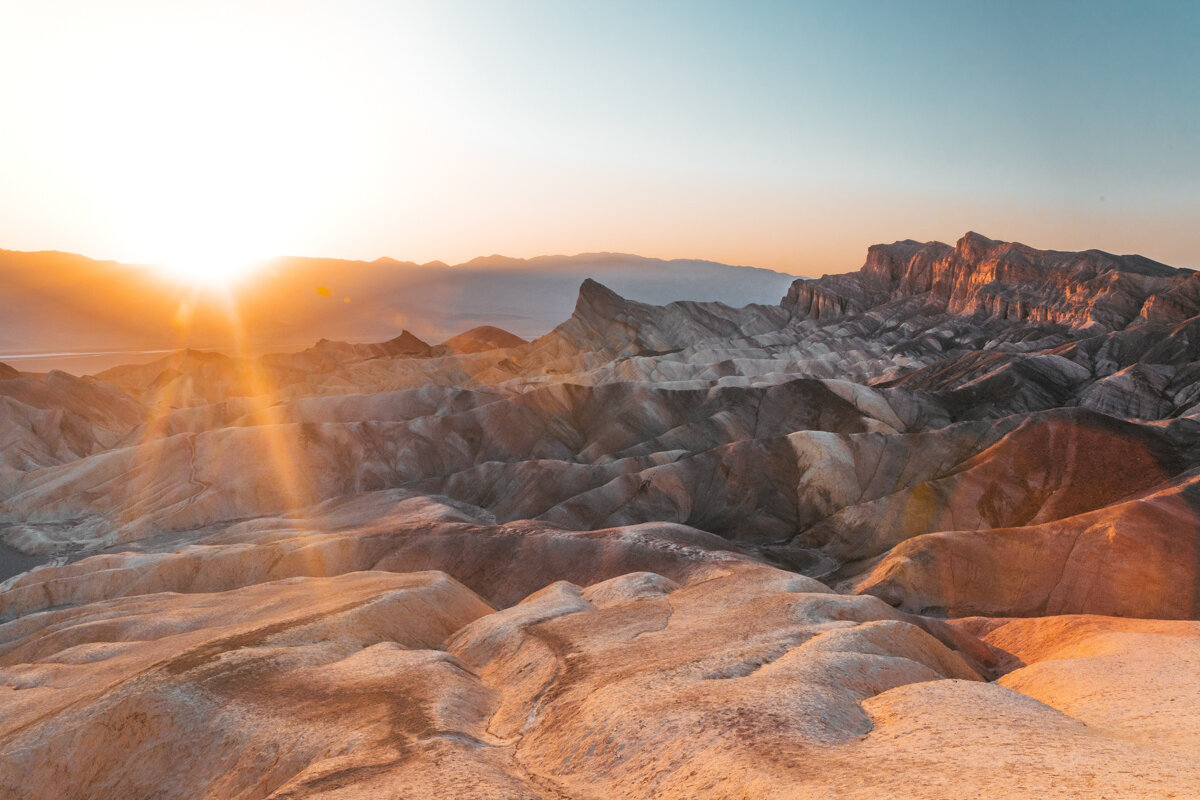
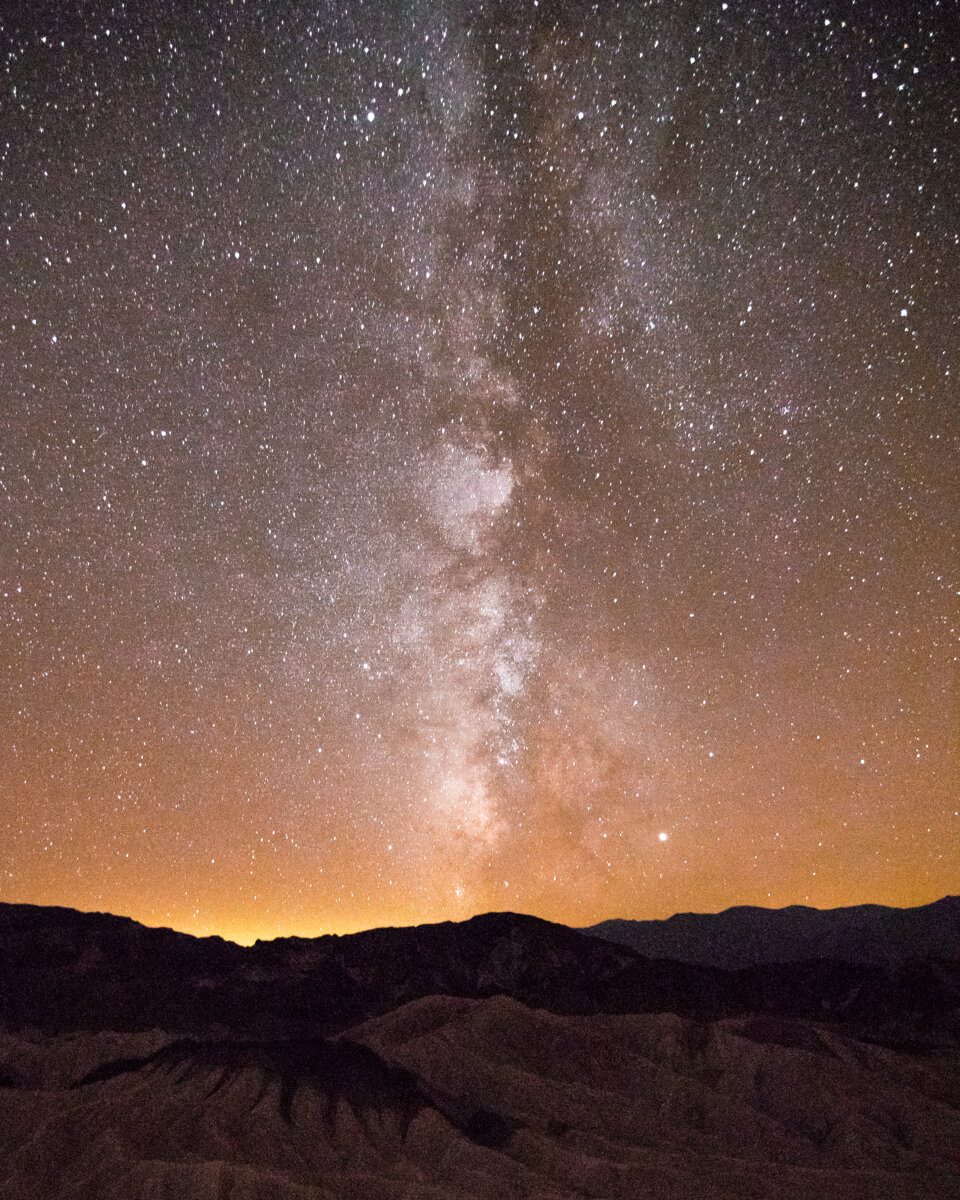
I loved Zabriskie Point so much that I think we went back there three times in total during the two days we visited the park. It also helped that it’s such a short drive from where we were staying at the Oasis at Death Valley! We visited in the afternoon, at sunset, and at night, and of the three, my favorite was definitely sunset. As you can see below, sunset is definitely one of the best times to visit Zabriskie Point, as the sun lights up the hills in shades of orange and pink. But, make sure to stick around for awhile longer, as the sky comes alive with the Milky Way after dark, and Zabriskie Point is a great spot for shooting the stars.
Depending on the time of year, you might even be lucky enough to capture the Milky Way core right above you, like I did in the shot below (right). What I love about Zabriskie Point is how much there is to shoot there in all directions. You can take photos of the point itself or overlooking Golden Canyon, or walk out to the end of one of the paths for great scenic portrait spots. The whole area is just stunning!
Artist’s Palette
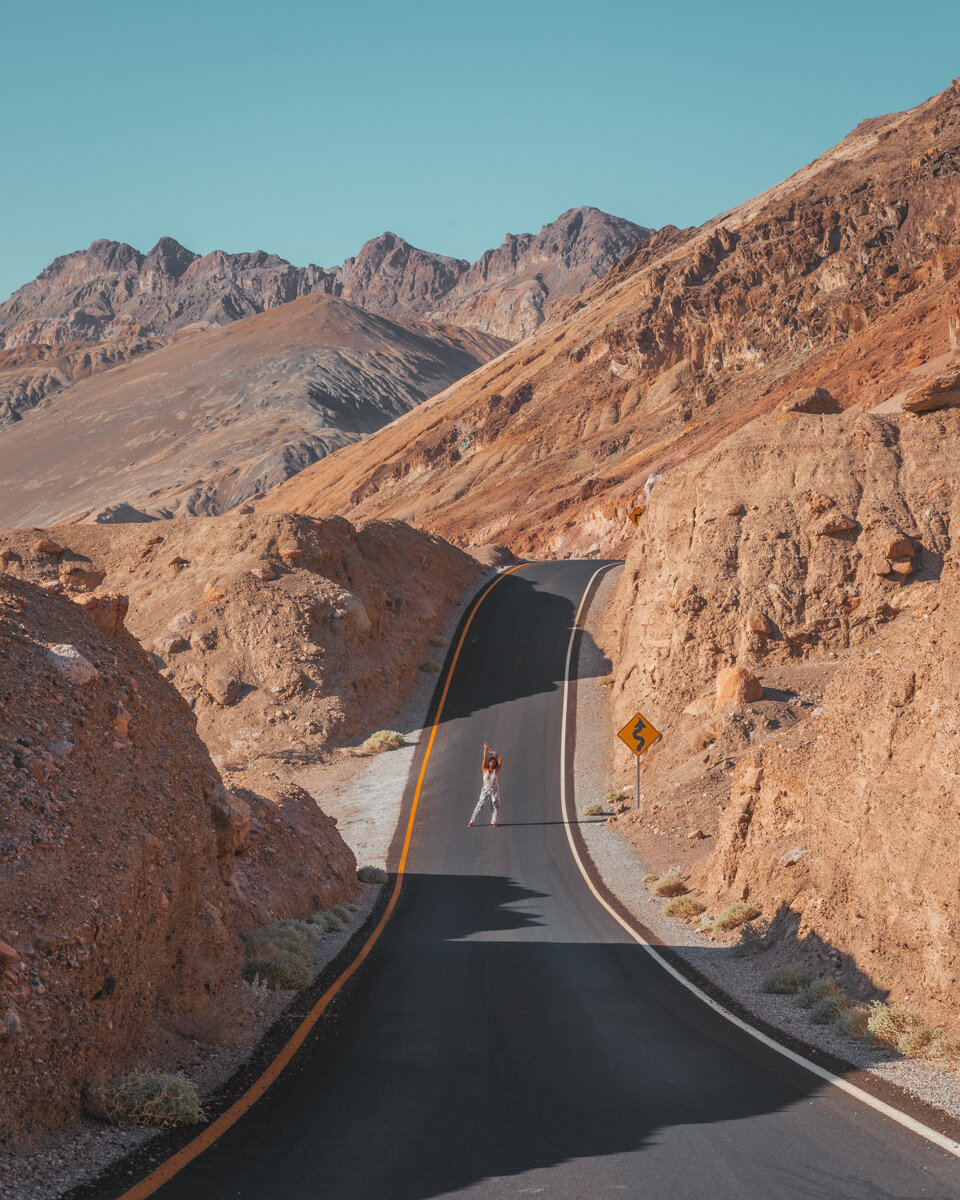
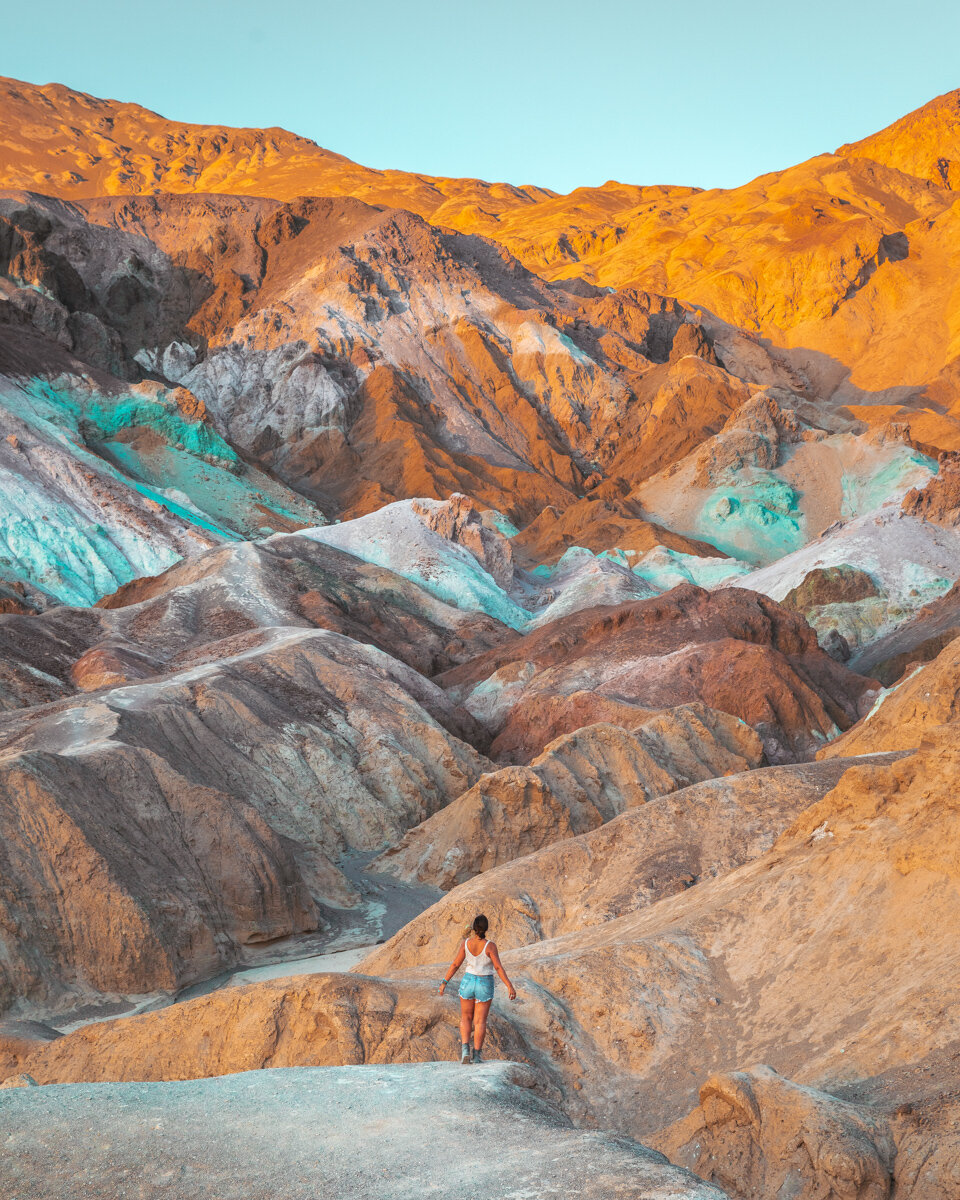
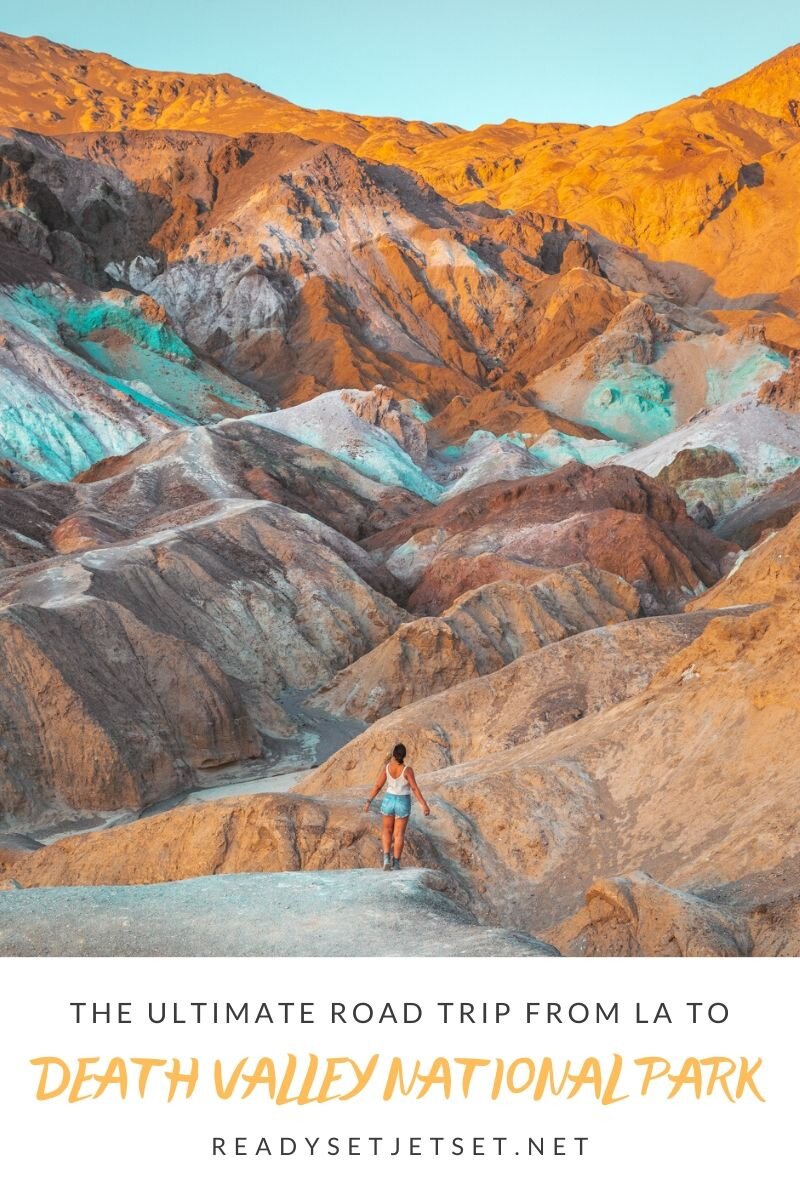
All of Artist’s Drive is filled with beautiful photo spots, but the best of all has to be Artist’s Palette, towards the end of the loop road. From the parking lot, you can get amazing shots overlooking the rainbow hills, aptly named for the pastel colors formed from minerals that look like an artist splashed paint all over the mountains. It is especially beautiful when golden hour lights the whole area up. If you have the time, it’s well worth it to walk down through hills and up over the ridges for unique views and up close perspectives of all the colors.
Badwater Basin
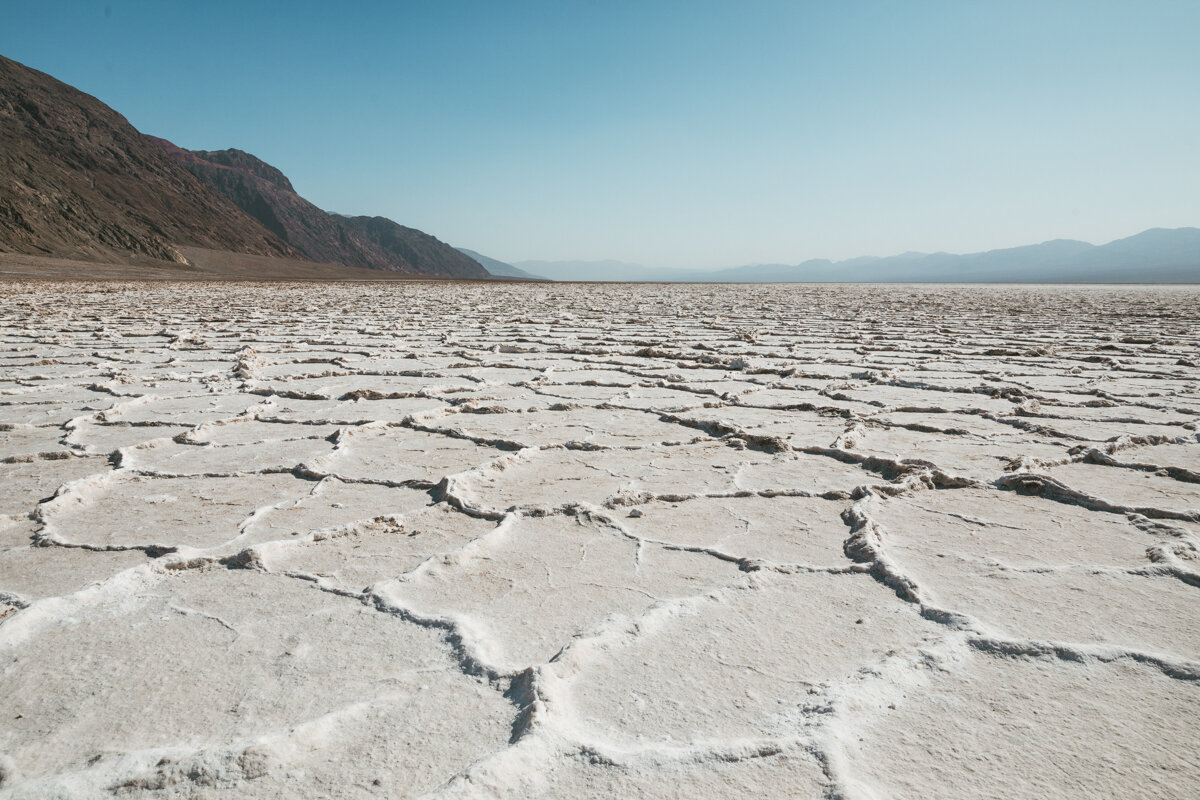
Badwater Basin is home to the famous saltwater flats of Death Valley, and is the lowest point in North America, coming in at 282 feet below sea level! It can take awhile to walk out to where the salt flats are less trodden on, so make sure to budget time to walk out there and bring plenty of water and shade with you. If you’re visiting in the summer, go as early as possible, as it is dangerous to walk out onto the flats in the afternoon when temperatures soar above 100 degrees and the sun beats down on you. We visited in September, when the temperatures are much more mild, so it was easy enough to visit during the middle of the day. Pro-tip: bring props out with you to take fun photo ops that take advantage of the vast flatness and play on perspectives!
Mesquite Flat Sand Dunes
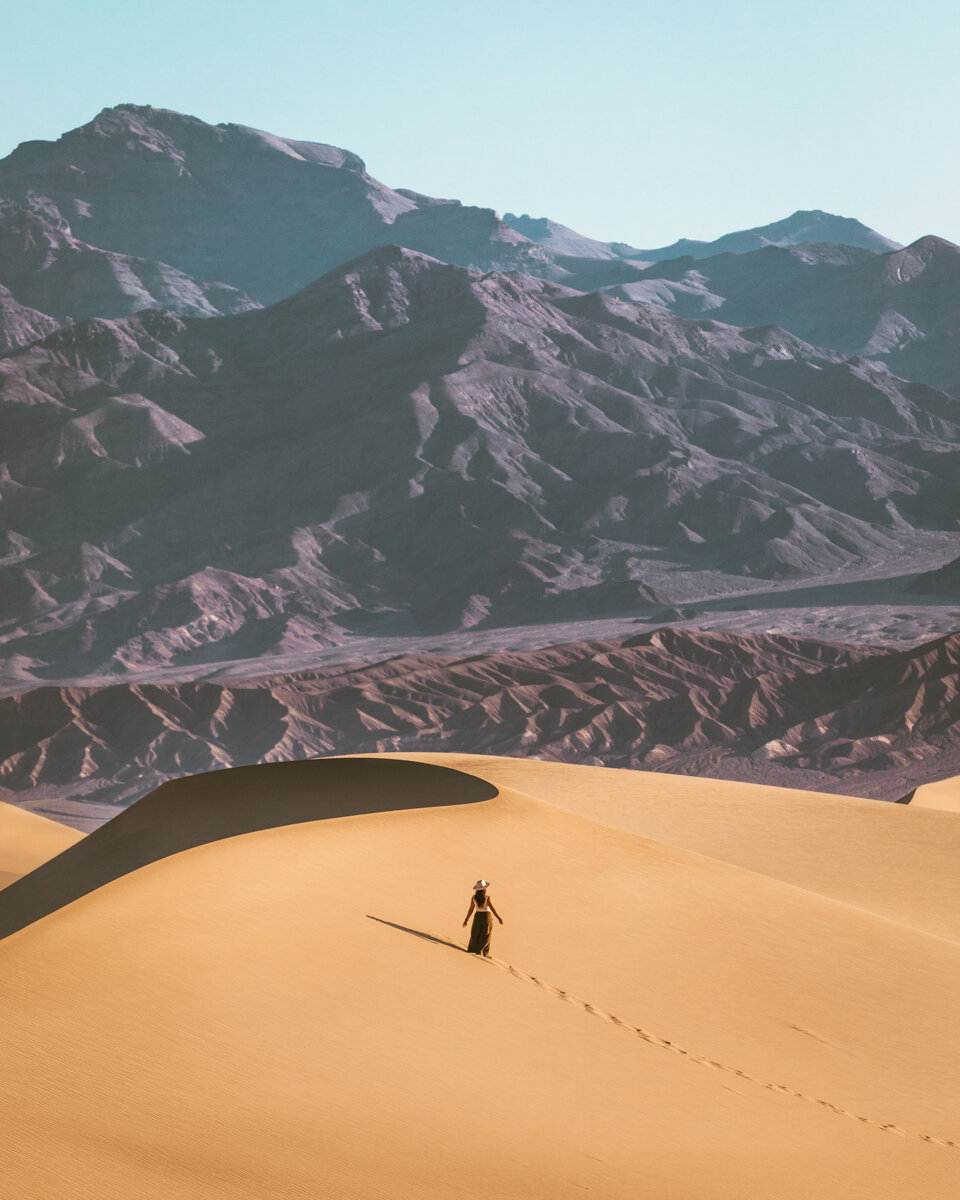
While these aren’t the tallest sand dunes inside Death Valley, they are the most accessible, located just outside Stovepipe Wells. The dunes rise up to 100 feet, and get their name for the mesquite trees located throughout the dunes. Hiking through sand can be difficult, so make sure to plan accordingly, especially if you’re wanting to walk out towards some of the taller dunes. That said, you can get great shots from just off the parking lot, but the trade off is tons of footprints from other visitors. If you want photos clean of footprints in the sand, you’ll have to spend 30 minutes to an hour hiking out to where it’s pristine. In summer months, you’ll also want to start your hike as early as possible, as it’s not safe to hike when temperatures are high. Bring plenty of water and a hat! This is also a great location for sunrise or sunset, and golden hour sees the sand bathed in gold.
Dante’s View
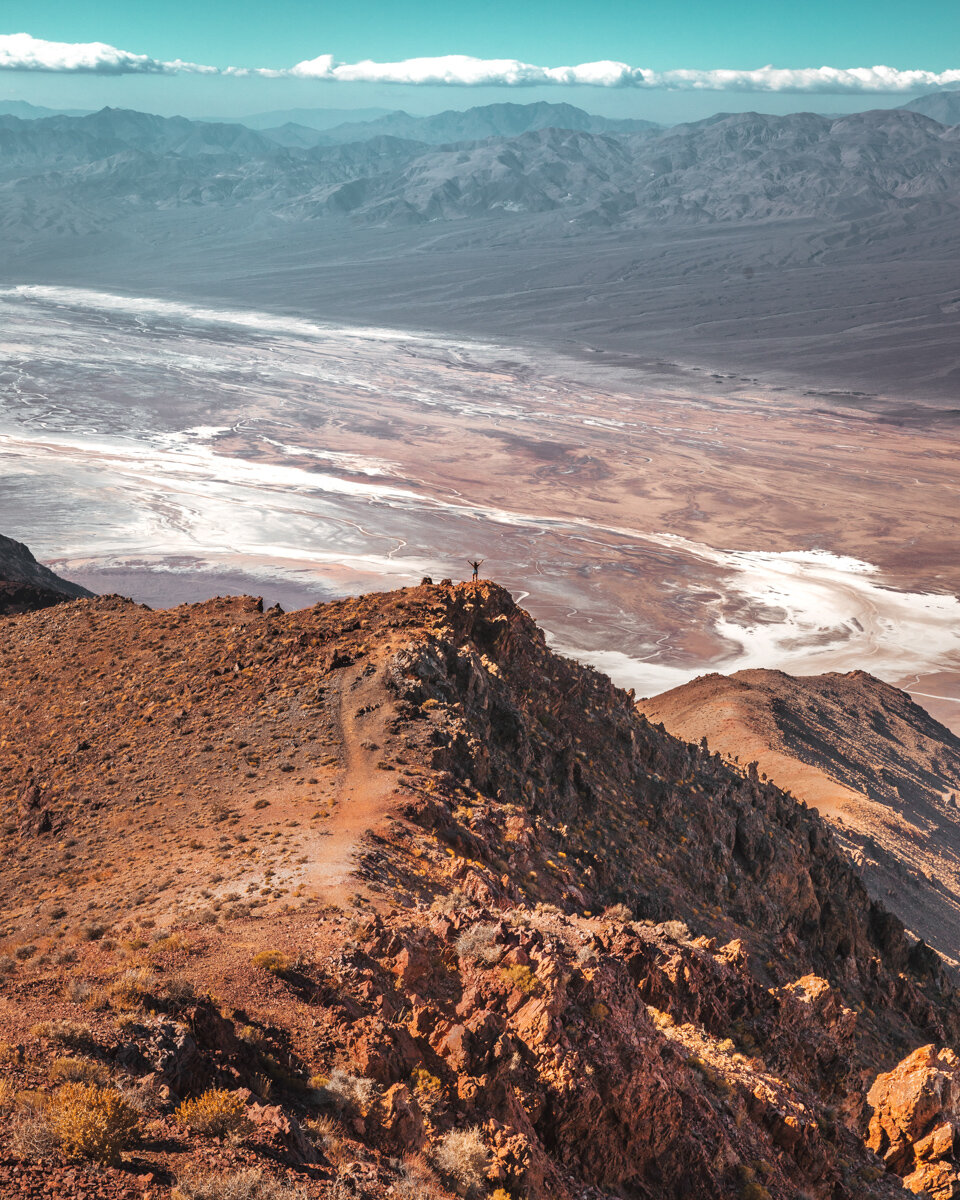
If you’re looking for a great overlook from a high vantage point, it’s hard to beat Dante’s View. The viewpoint is over 5000 feet above sea level with panoramic sights over Badwater Basin and the Devil’s Golf Course – no hiking required! Fun fact: in the original Star Wars, they filmed the scene here on Tatooine where the characters are looking down on Mos Eisley spaceport. From the parking lot, you can choose several path options to walk up or down for views along the edge. To get the shot seen below, walk down the path to the left from the parking lot until you’re enough down the mountain to get this perspective.
Ubehebe Crater
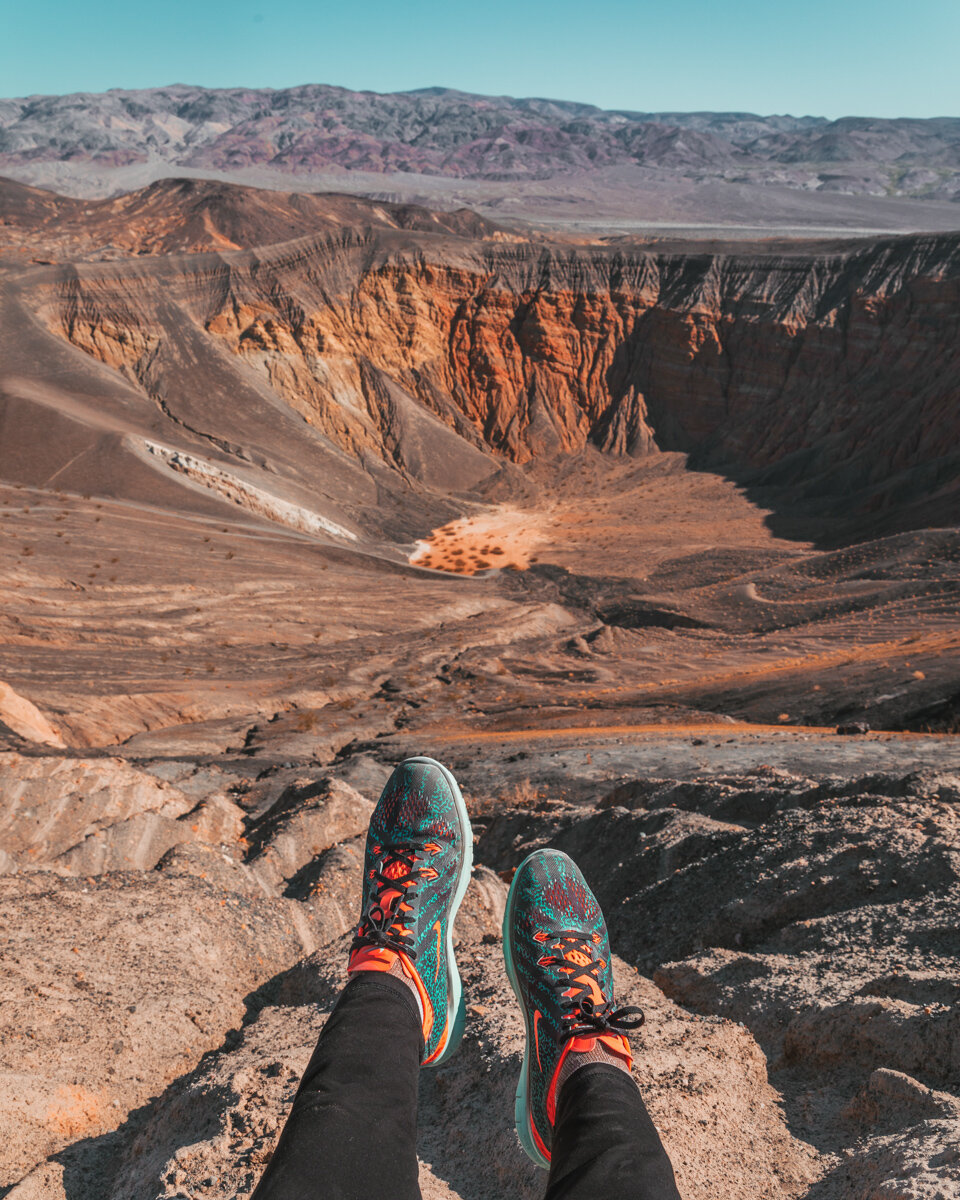
One of the last stops we made inside the park was Ubehebe Crater, and I’m glad we decided to make the drive up to here! This volcanic crater is 600 feet deep and half a mile across. You can choose several different hiking options for different views of the crater, including hiking two miles around the rim or down to the bottom of the crater (just note, it’s very steep to come back up!). We chose to do a partial rim hike out to Little Hebe, which is a one-mile out-and-back walk with some light elevation gain on deep gravel paths that do give a bit of resistance, but is suitable for most hiking levels.
Day Five: Death Valley to Las Vegas
Spend the morning and afternoon exploring more of Death Valley and whatever you didn’t make it to the previous day. If you’re an early riser, some good sunrise spots include Mesquite Flat Sand Dunes (which we chose for one morning) and Zabriskie Point. If you plan to do sunrise at the sand dunes though, make sure to arrive plenty early and bring flashlights or head torches. Hiking in sand can be strenuous and take longer than you might have planned to arrive at a good spot for photography, or to climb up one of the dunes!
When you’re ready, head to Las Vegas for the nearest major airport option to Death Valley National Park. It’s just over two hours to drive from Death Valley to Las Vegas. If you have time to extend your trip in Vegas, check out my guide to Vegas off-Strip!
Like it? Pin it!






![Comment “TOUR” to be sent the info of the exact 11 day Egypt/Jordan with Nile Cruise tour I’m on with @tourradar x @beyondtheniletours ‼️(and a promo code for a discount!)🐪 [hosted trip]
POV: You go on a magical sunrise hot air balloon flight above Luxor, Egypt 😍✨🇪🇬
As we ascended into the early morning sky, the vast landscape of ancient temples and the Nile River unfolded below us, bathed in soft golden light.
The calm and quiet of the early hours, combined with the sweeping views and many balloons in the air behind us, made this one of the most unique ways to take in the history and beauty of Egypt.
A truly unforgettable experience that lets you see the city in a way few ever do!
👋 Hi! I’m @readysetjetset, an experienced solo traveler and group trip host, and I’m all about helping you plan your next adventure. I find the best bucket list experiences, unique stays, and beautiful destinations all over the world, so make sure to follow along - where will we jet set next? ✈️
Follow along for more of my Egypt and Jordan adventure! ❤️ #luxoregypt #travelegypt #visitegypt #luxor // Luxor hot air balloon tour // where to hot air balloon in Egypt](https://readysetjetset.net/wp-content/plugins/instagram-feed/img/placeholder.png)


